
I used to work out in a gym like everybody else until my son was born. Suddenly I was so busy, I couldn’t get to a gym at all.
I also have a daughter, and I remembered back to when she did gymnastics competitions. All the male gymnasts were jacked and strong, but their training is calisthenics, not weights.
That’s when I decided to change my own training to focus on bodyweight.
Over the next six years, I added 10 pounds of muscle doing bodyweight training exclusively, and my body fat levels remained the same.
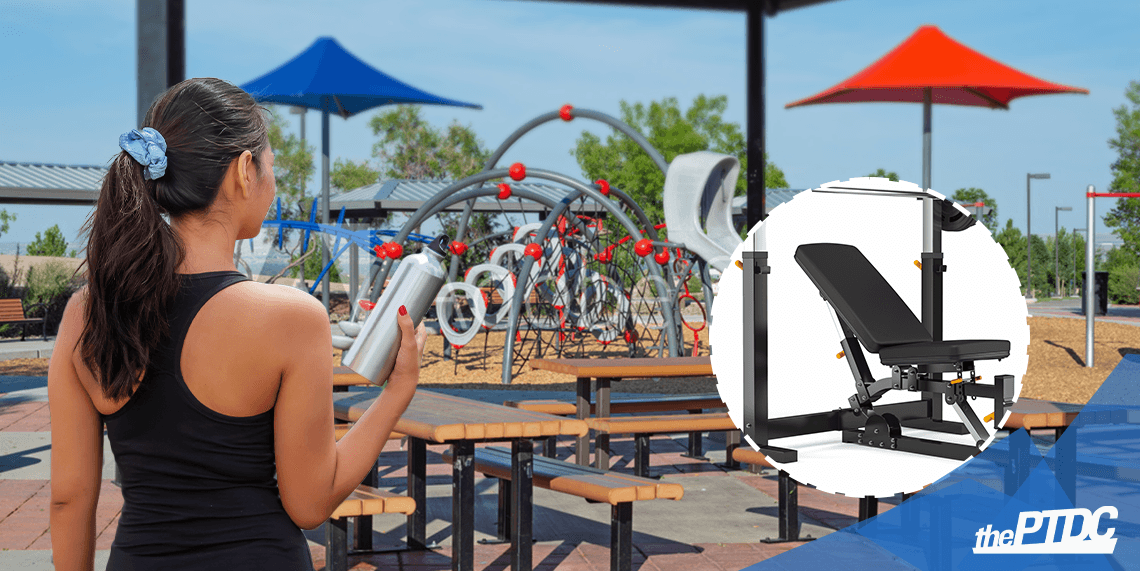
The fact is, there’s plenty of muscle that can be built and fat that can be burned by working out in your backyard, a local park, or at the beach—that goes for you and your clients.
It doesn’t matter how old the person is, or their strength or experience level.
As long as you know how to assign the proper exercises and progress them appropriately, you can accommodate outdoor workouts.
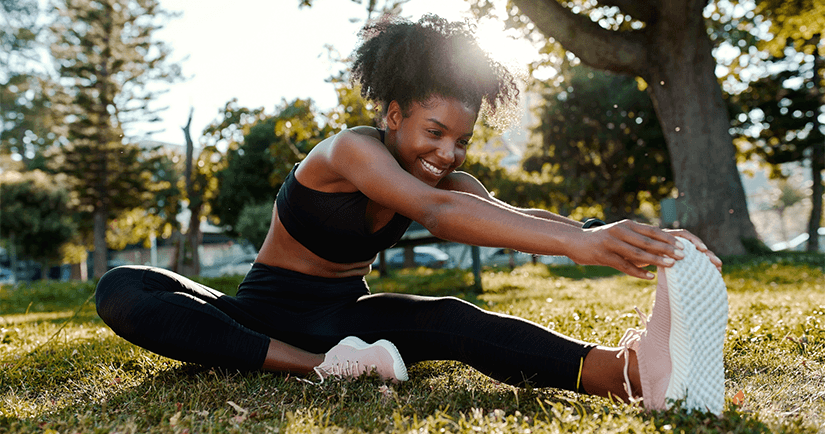
It wouldn't be a stretch to say that outdoor workouts can make you happier.
Research shows that working out in green spaces is “natural medicine.”
Not only do outdoor workouts break up the monotony of regular workouts, research shows they offer a range of health benefits.
A review in Extreme Physiology & Medicine revealed that people who exercise outside are able to reduce stress and mental fatigue, boost mood and self-esteem, and increase physical activity with a lower perceived level of exertion—that is, they can work out harder without feeling like it’s hard work.
The authors even likened working out in green spaces to a “natural medicine.”
Of course, spending more time outdoors gives you more exposure to natural sunlight, which the body uses to make vitamin D.
As you probably know, vitamin D is a big topic in nutrition these days. It’s important for:
- bone health
- muscle strength
- the immune system
Yet deficiency is common.
A study in Nutrition Research concluded that more than 41 percent of Americans don’t get enough vitamin D, and that people who are obese, have hypertension, or don’t consume milk are at the highest risk. (Does this sound like a client of yours?)
Older adults also often don’t meet requirements, even when they aim to take in enough of the vitamin through diet, according to the American Journal of Geriatric Pharmacotherapy.
Believe me, outdoor workouts work, and clients love them.
But to effectively train a client outdoors, you have to be well versed in bodyweight training. I’m about to give you a crash course.
Four Smart Ways to Train Clients Outdoors That You May Not Have Thought Of
Here’s what you need to do to make outdoor bodyweight training work.
1. Manipulate leverage for progressive overload.
You know the law of progressive overload: In order to see improvements, we have to regularly increase the demand of our training a little at a time.
That’s easy to do in a gym—just go to the next-heaviest pair of dumbbells, or move the pin down a plate on the machine.
But it gets a little trickier when you’re using bodyweight.
When the only weight available is the total mass of your client’s body, you have to be able to manipulate leverage to create intensity.
The easiest way to do that is to change the angle of the client’s body to the ground.
Push-pull moves
For pushing exercises, including all pushup variations, I start clients with their hands on an elevated surface, such as a park bench or chairs. This reduces the amount of bodyweight they need to lift, making the movement easier.
I’ve had many clients who regularly used pressing machines in the gym be unable to perform one good pushup on flat ground. So elevated pushups was where I started them.
Over time, I lowered the elevation until they were pushing on a flat surface, and then, when that got easy, I’d begin elevating the feet to increase the load on the pushing muscles.
The same applies to pulling exercises like rows. Start with the body on a sharp angle to the ground, and gradually lower it over time. Then, raise the feet up.
Single-leg training
With leg training, it’s often better to focus on working one leg at a time. Your bodyweight feels much heavier when it’s supported on only one leg, so I usually favor reverse lunges over bodyweight squats.
Most people can do good bodyweight squats with a little coaching, but the exercise isn’t intense enough to build muscle.
Rather than increase the reps to an outrageous number (20, 30, 40, or more—which can be dangerous and tedious), you can simply have the client do single-leg work.
Most people need more unilateral training anyway to correct muscle and strength imbalances.
If keeping balance is an issue, the client can hold on to a tree or rail to self-spot and, over time, work up to doing the exercise unassisted.
Tempo and reps
It’s also a good idea to slow down the negative on every rep—for example, taking two or three full seconds to lower the body into a lunge. This helps build muscle control and can induce fatigue much faster.
Keep in mind that the goal for most personal training clients is hypertrophy—they need to build muscle in order to boost their metabolism and get leaner. So it’s important to stay in rep ranges that allow them to do that efficiently.
The old standby of 8 to 12 reps per set needs to be applied to bodyweight training just as it is to barbell and dumbbell work.
A handstand pushup is an admirable goal for anybody training calisthenics, but most people can’t do more than a few proper reps, and that won’t provide enough volume to stimulate hypertrophy.
So avoid fancy, showy exercises in favor of ones that keep the person in the 8- to 12-rep range, where the majority of muscle gains are made.
Outdoor equipment
I don’t believe that there’s any must-have equipment for making outdoor bodyweight training effective, but there are a few relatively inexpensive tools you can have your client pick up that can help with these progressions.
1. Dip bars. At around $80 to $100, dip bars (like the Lebert Equalizer) allow a person to do pushups and dips at different angles, as well as rows, which are hard to do outdoors if you don’t have a bar of some sort to hold on to.
A pole or doorframe is a good alternative for rows:
2. Gymnastics rings usually run around $30 and are great for novice trainees. You can progress exercises on the rings the same way you do with an elevated surface.
Start with the rings higher up so more bodyweight is supported by the feet, and lower them over time.
Rings also make self-spotting easier. If your client can’t yet do a pullup or a single-leg squat, hanging on to the rings provides some balance and assistance.
As your client’s proprioception and strength increase, they’ll be able to use less and less assistance, until they’re performing these exercises with their full bodyweight.
Rings are more versatile than dip bars (some even come with foot cradles, which accommodate numerous lower-body exercises), but they may not be suitable for every client.
You have to hang them from something, and people who don’t have access to a sturdy structure to do that may find the dip bars are a better alternative.
Watch my video to learn seven progressions for bodyweight rows on rings:
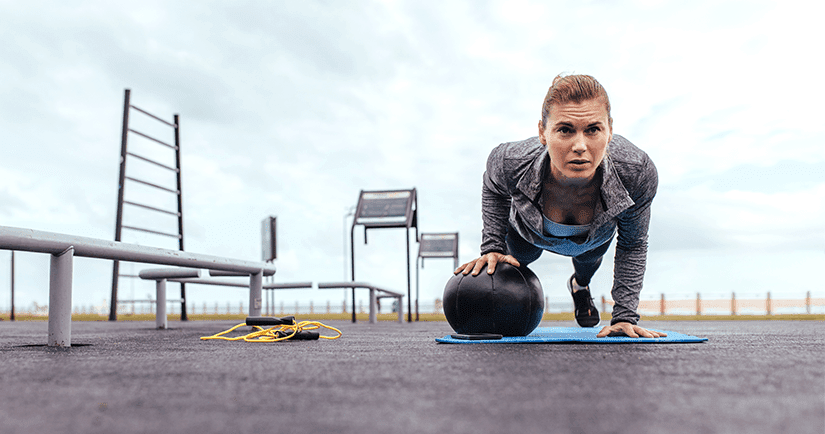
2. Use the right exercises for the environment.
Even if clients don’t have anywhere to set up gymnastics rings, they may still have access to areas and equipment that let you expand your training repertoire.
Ask your client where they want to do their outdoor workout, and find out as many specifics as you can about the spot.
Some common outdoor workout areas:
The beach
Have them run in the sand. The shifting grains provide instability, not unlike training on a Bosu ball, and it can do a lot to strengthen the feet and ankles.
Assign them hill sprints up some dunes. Doing it barefoot or in minimalist shoes is even better, if the client is ready for it.
Note that many parks also offer sandboxes, and some have long-jump sand pits, that can be used for lunges and other single-leg work.
The park
Any public park will have a bench or picnic table, which allows for some great glute training.
For example, hip thrusts. Rest the upper back and shoulders on the seat and bend the knees 90 degrees. Lower your hips to just above the ground, and then raise them back up to parallel.
Two-legged thrusts are often too easy, so have them do the exercise on one leg, driving the heel into the floor.
If your client wants to train some power and explosiveness, using a bench or table for a box jump is an option. The elevation is usually fairly modest, so safety isn’t a giant concern on these.
Tip: Always have the client step down from the surface; don’t jump down. This helps prevent ankle and Achilles injuries.
The playground
Swing sets can be used for ab training.
Teach your client to place their hands on the swing seat and extend their legs behind them, in a pushup position. Now extend the arms in front of the body as far as possible without losing tension in the core.
It’s the same movement as a rollout with an ab wheel or Swiss ball.
Of course, monkey bars provide opportunities for pullups and dips at many angles and with many grips, and hanging leg raises and knee tucks too.
Just hanging from a bar and holding for time is a good way to decompress the spine and build grip strength.
A hill
Hill sprints were a favorite exercise of NFL legend Walter Payton, and he was known for being in phenomenal shape throughout his career.
They’re much safer than sprints on flat ground because you can’t run as fast, lessening the risk of a hamstring pull.
With that said, they’re still demanding, so ease your client into them with one to two sessions per week.
I’d start with four or five sprints at a little less than full effort, and see how sore the person feels the next few days. Gradually increase the intensity and the number of sprints.
The hill doesn’t need to be steep. Even a 10-degree grade can be very intense.
The street
Clients who live in big cities may not have close access to a good park, so the street itself becomes a gym.
In this case, I’d focus on reverse lunges off a curb, standing rows on a stop sign, and pushups.
For cardio, they can do interval runs, and the city itself will provide the perfect work-to-rest ratios.
Sprint a city block, and then walk casually for a block to catch your breath. Repeat for rounds.
That’s as good a high-intensity interval training (HIIT) session as you can do anywhere else.
Wherever your client is, make sure to remind them to inspect the area for safety first. You don’t want them training near construction sites or anywhere else that might put them in contact with broken glass, nails, or other sharp objects.
This goes double if they plan on doing any training barefoot.
If they’re going to use a public park in an urban area, they should check for needles in the grass (not everyone uses parks to improve their fitness), and keep an eye out for nearby dogs as well.
Related: Here are 11 more ways to keep your clients safe in summer.
3. Isolate target muscle groups
Almost every client initially comes to you asking to target a perceived problem area. He wants a bigger chest, she wants a tighter butt, etc.
Most assume that bodyweight training is so global in nature that you can’t really isolate one muscle group, but that isn’t true.
I’ve developed a few exercises over the years that give some extra love to particularly troublesome areas, so your client doesn’t have to put their weak-point training on hold till summer’s end.
Deltoids
Some people can’t overhead press due to shoulder pain, and it’s hard to do direct shoulder work with bodyweight alone … unless you try the bodyweight lateral raise.
- Wrap a T-shirt or a towel around your forearm and lean up against a door or a smooth wall.
- Press your arm into the door and up in an arcing motion, as if doing a lateral raise with a dumbbell or on a machine.
You’ll be lifting a good amount of your body weight, so you shouldn’t have trouble staying in the 8- to 12-rep range.
Here’s a demo:
Triceps
The move is essentially the same as the classic barbell skullcrusher:
- Go to a park bench or use a sturdy table.
- Place your hands on the edge and get into a pushup position with your shoulders a little further back than your hands.
- Bend your elbows and lower your body until your head is just below the surface you’re balancing on.
- Extend your elbows to come back to the starting position.
Butt and legs
The Nordic hamstring curl is a very difficult posterior chain exercise popular among athletes. It can be done with a partner or at a playground using the bottom of a children’s slide.
- Lay a towel or other cushion down on the ground to protect your knees.
- Kneel on the ground and lock out your hips, squeezing your glutes. Brace your core. Have a partner hold your ankles down so your lower body is secured, or wedge your heels under a slide.
- Slowly lower your body by extending your knees and keeping a straight line from your head down. When you can’t control the descent, allow yourself to drop to the ground into a pushup.
- Push yourself up from the bottom with your arms, and then finish the motion by pulling with your hamstrings, returning to the starting position.
Over time, your client will be able to increase the range of motion, and use less of a push to come up.
Here’s a demo:
4. Learn some new tricks
One of the big selling points of bodyweight training is that you can work up to doing some impressive feats of balance and strength:
- pistol squats
- one-arm pullups and pushups
- the human flag
Truth be told, most clients won’t be able to perform most of these tricks after one summer, but the one-arm pushup isn’t as far out of reach.
That’s because it’s not a test of upper-body strength as much as it is anti-rotational core strength—a big weakness for most people.
If you think it’s doable, tell your client you can have them doing one-arm pushups in a few months … I bet they’ll be so excited they won’t miss a workout until they can do it.
How to do the one-arm pushup
Step 1. Basic pushup
Make sure your client has mastered regular pushups. When they can do multiple sets of 10 to 20 perfect reps, it’s time to move on.
Step 2. One-hand elevated pushup
Spread the feet out wide for a solid base of support, and elevate one hand on a basketball, volleyball, or other surface that creates some imbalance.
The hand resting on the ball should be just outside shoulder width while the other arm is tucked in tight to the body. We’re going to gradually move the more distant arm further away from the center of gravity, forcing the core to create more stability.
When the client can do a few sets of 8 to 10 reps like this, move on to step 3.
Elevating one hand on a ball (thus adding imbalance) is a great way to progress a standard pushup.
Step 3. Archer pushup
Roll the ball farther away from the body so the arm that’s supported by it is outstretched 90 degrees from the torso. This is called an archer pushup.
When the client can do a few sets of 8 to 10 reps like this, move on to step 4.
Step 4. One-arm pushup on elevated surface
You’re almost ready to have them go for a full one-arm pushup.
As with other pushup variants, make it easier by doing the movement on an elevated surface, such as a picnic table, and lower the height over time as needed.
Again, keep the feet out wide, and extend the free arm out from your side. Make a fist with the free hand, which will help create stability.
While your client works on all these progressions, it’s also a good idea to have them work on holding one-arm planks (throw them in as core work) along the way, to further build the requisite stability.
When your client becomes proficient at elevated one-arm pushups, have them progress to a flat surface. And you’re done.